Learn more about
Low-cost high performance fringe projection system
1. Objective: 3D surface measurement
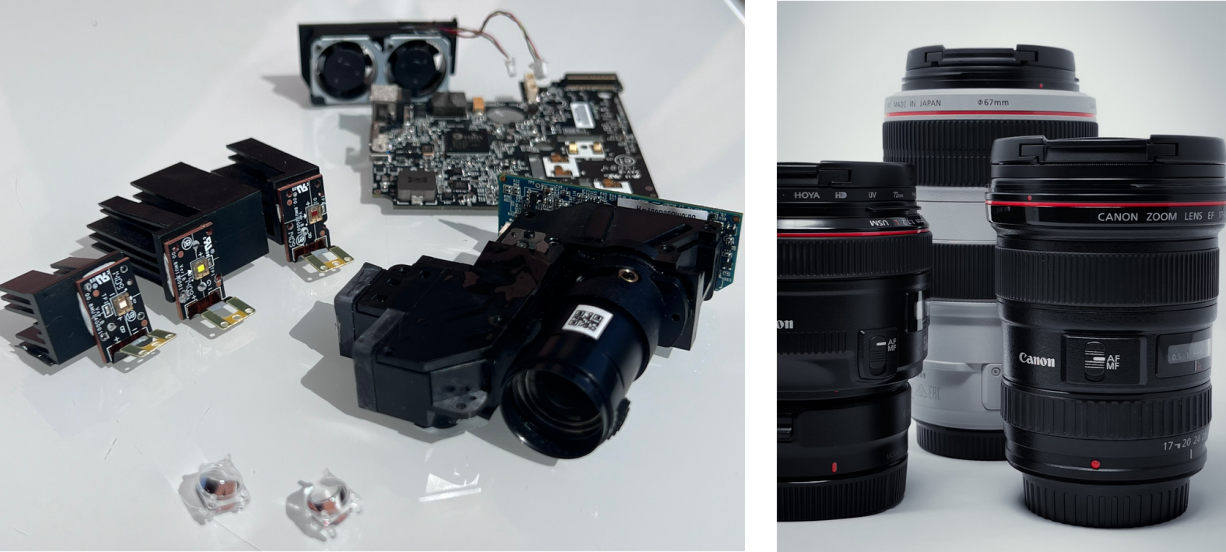
This prototype development focuses on creating a high-performance fringe projection system, primarily utilizing consumer products such as projectors and camera lenses. By leveraging these advanced yet affordable components, the project aims to achieve precision and accuracy typically reserved for more expensive, specialized equipment.

2. Background
Fringe projection
Fringe projection is a powerful optical technique used for high-precision 3D surface measurements. By projecting structured light patterns onto an object and analyzing the resulting fringes, this method allows for detailed surface profiling, making it invaluable in fields such as quality control, metrology, and industrial inspection.
Consumer market products
Consumer market products like DLP projectors and camera lenses are marvels of modern engineering, offering exceptional performance at surprisingly low costs. These products are the result of years of intense development, driven by the demands of large-scale industries such as entertainment, photography, and mobile technology.
Camera lenses are designed to capture sharp, clear images with minimal distortion, these lenses are optimized for a wide range of conditions and are crafted using advanced materials and coatings. Despite their complexity, they are available at prices that are a fraction of what was once required for similar performance.
By carefully selecting and integrating these consumer-grade components, it’s possible to create high-performance systems that rival or even exceed the capabilities of traditional, specialized equipment. For example, when combined with a precisely aligned DLP projector, a high-quality camera lens can deliver accurate, detailed optical measurements. The key lies in the proper arrangement and calibration of these elements, ensuring that each component is used to its full potential.

3. System development
Optical arrangement
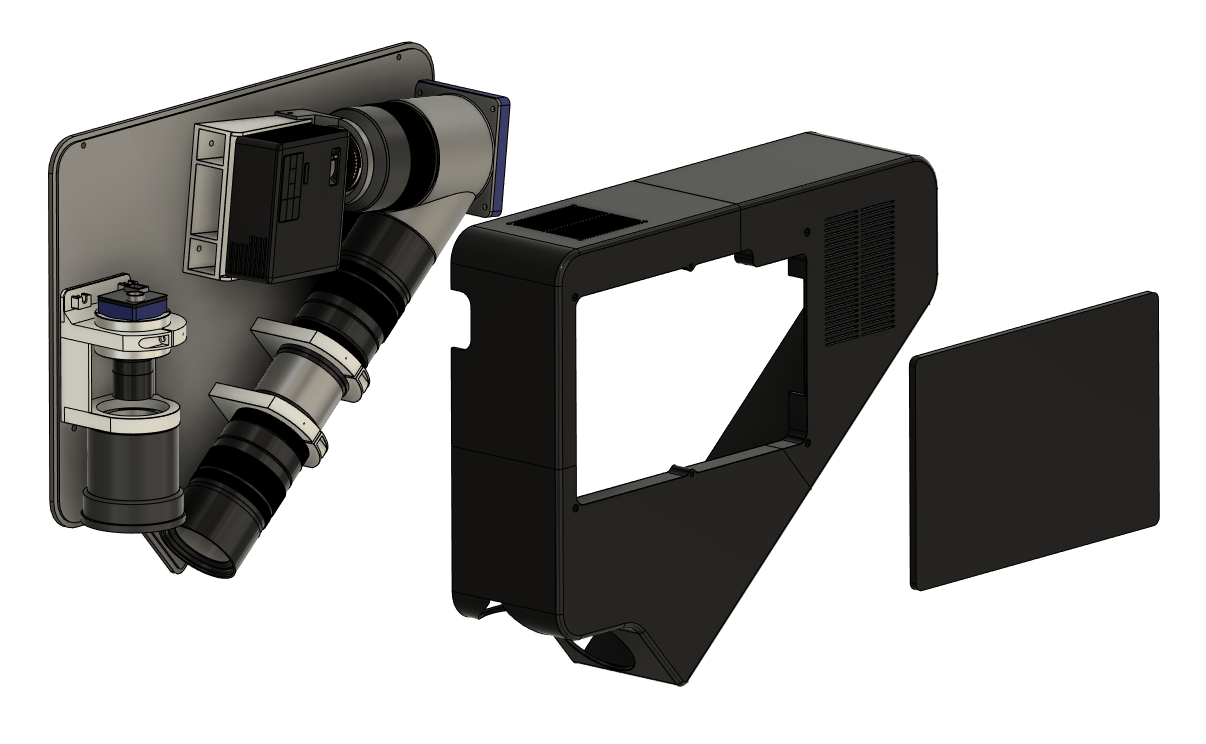
The optical components in this system are meticulously arranged and combined with a specially designed microstructure to achieve the Scheimpflug condition across the measurement field. This precise alignment ensures that the entire surface being measured remains in sharp focus, even when dealing with tilted planes.
To construct the system, rapid prototyping techniques were employed, allowing for swift iteration and customization of parts to optimize the optical path.

System calibration
Once assembled, the system undergoes careful calibration to fine-tune the alignment and ensure maximum accuracy. This combination of advanced optical design, specialized microstructures, and precise calibration results in a high-performance measurement system capable of delivering reliable and detailed 3D surface profiles.
Measurement strategy
The measurement strategy employs a four-phase algorithm to accurately determine the phase of each pixel. This technique involves capturing four different phase-shifted images to compute the precise phase values.
For phase unwrapping, the system uses a multi-wavelength approach to resolve ambiguities and accurately reconstruct the surface profile. This method enhances the measurement’s reliability by effectively addressing phase discontinuities and extending the system’s range. Both techniques are well-validated in optical metrology for their precision and effectiveness in capturing high-resolution surface details.
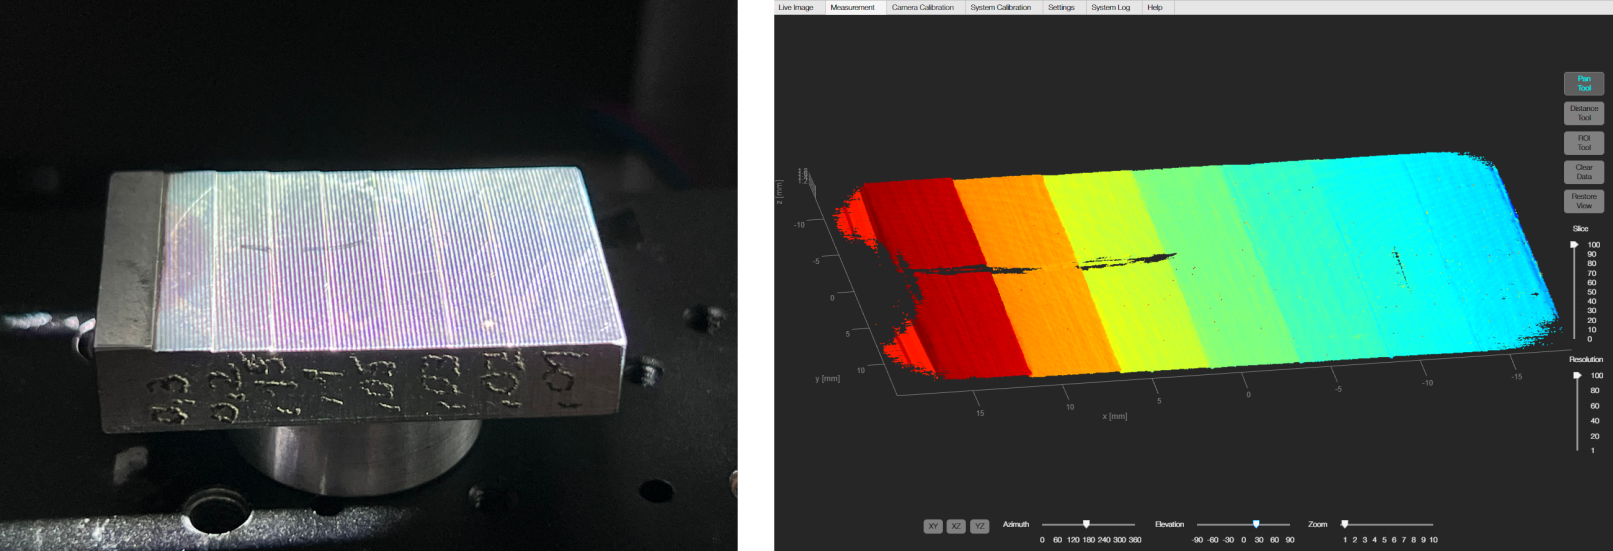
4. Results
The system effectively captures precise surface details of the test object, demonstrating its ability to accurately resolve fine features and validating the success of the optical arrangement and calibration.

